It's getting cold on the East Coast, so here's a post that Rick on
s/v Cay of Sea did last summer. Rick always shows excellent attention to detail...
I have been suspecting this particular stanchion as the source for leaks for quite a while. At one point 6 or 7 years ago, when we were in a shallower slip in this same marina, we had a super low tide. The boat grounded out and leaned over against the finger pier and, I think, slightly bent this particular stanchion. I’ve never re bedded any of the stanchions, so this was the original compound underneath. Stanchions are not designed to be pulled on, and certainly not designed to withstand having the weight of the boat push them into a pier, so I believe that is when it began to leak a good bit. It may have leaked some before then.
Regardless, I decided that I wasn’t going to hide from the heat today, and ventured down to the boat with my large fan in hand. I set it up on the galley counter, and it made a huge difference in tolerating the heat today. I also put up all my hot-weather canvas and kept as much sun off the boat and myself as possible.
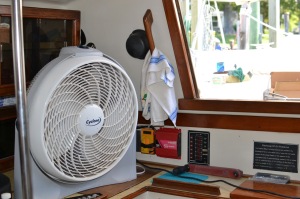 |
Artificial breeze was critical today. |
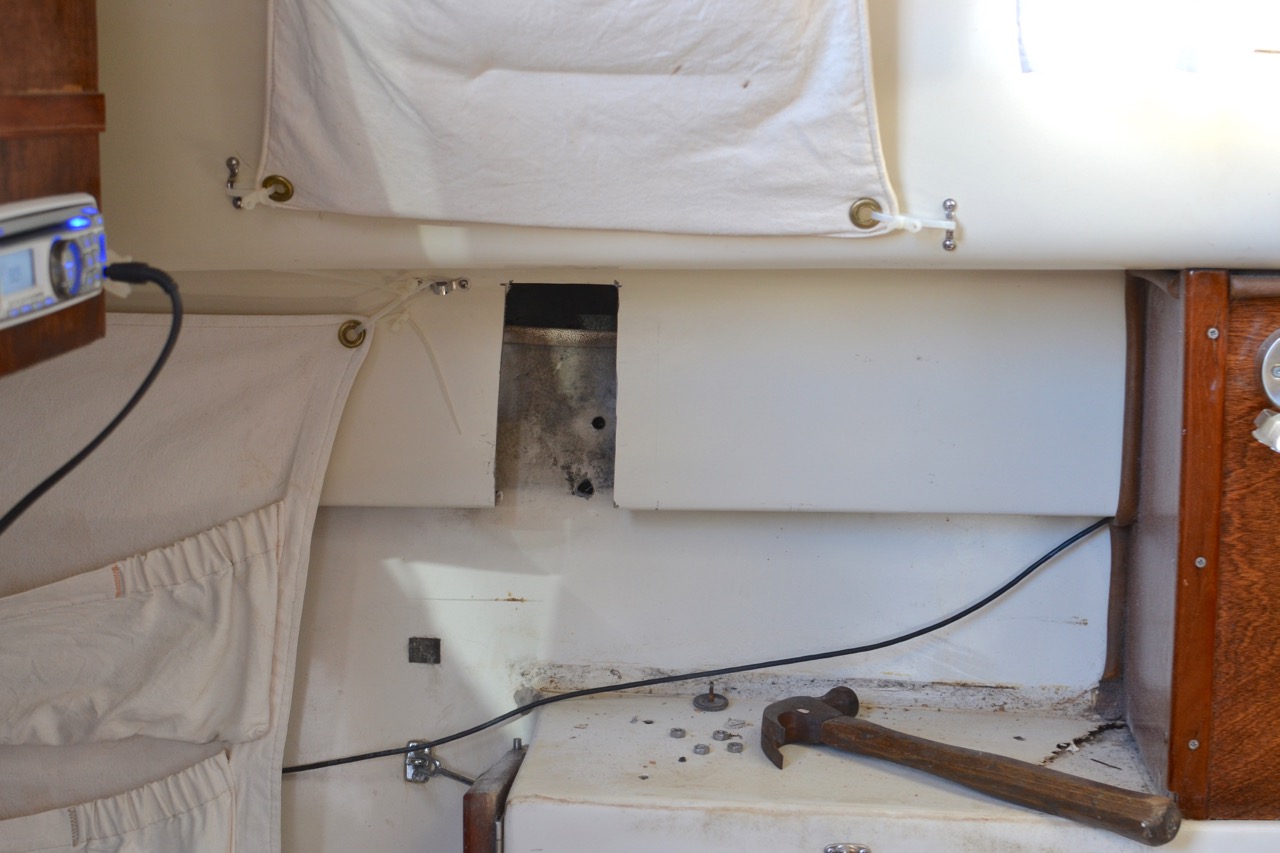
The fasteners were impossible to access with the hull liner in the way. I’ve thought about this project for a long time, and had determined that the only way to gain access to the fasteners under the side deck was to cut a window in the liner. I had to remove the stove from this space, and the fold-up table it sits on/sits behind. I moved all the cushions to the v-berth to keep them out of the dust, then donned my respirator and started cutting. Took about 90 seconds.
 |
A 5-inch grinder with a cut-off wheel makes this so easy. |
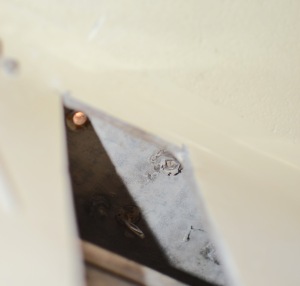 |
This is the view up behind the window in the liner. I’ve already removed the fasteners and stanchion. |
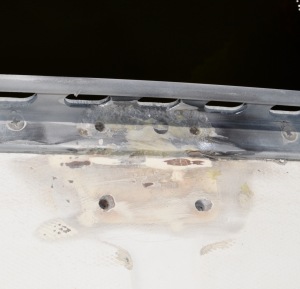
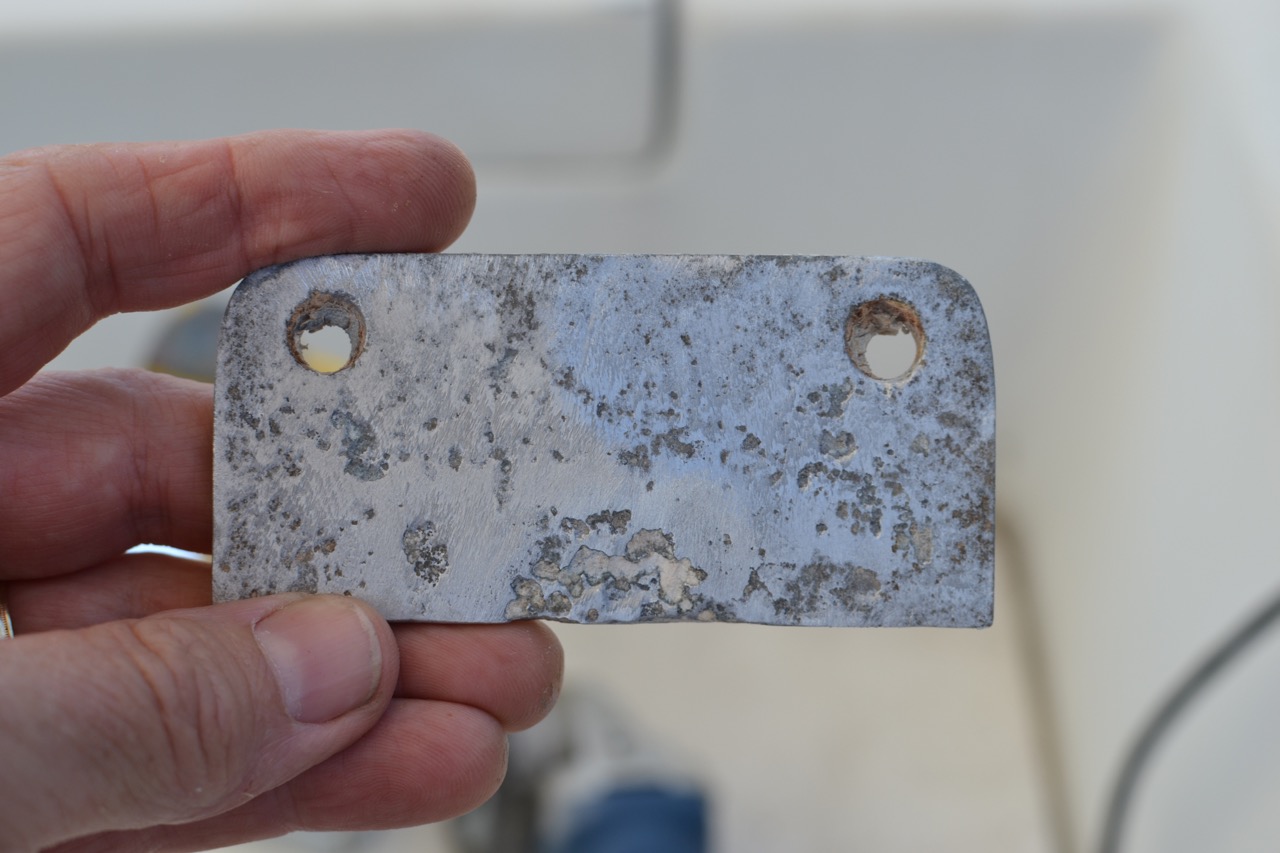
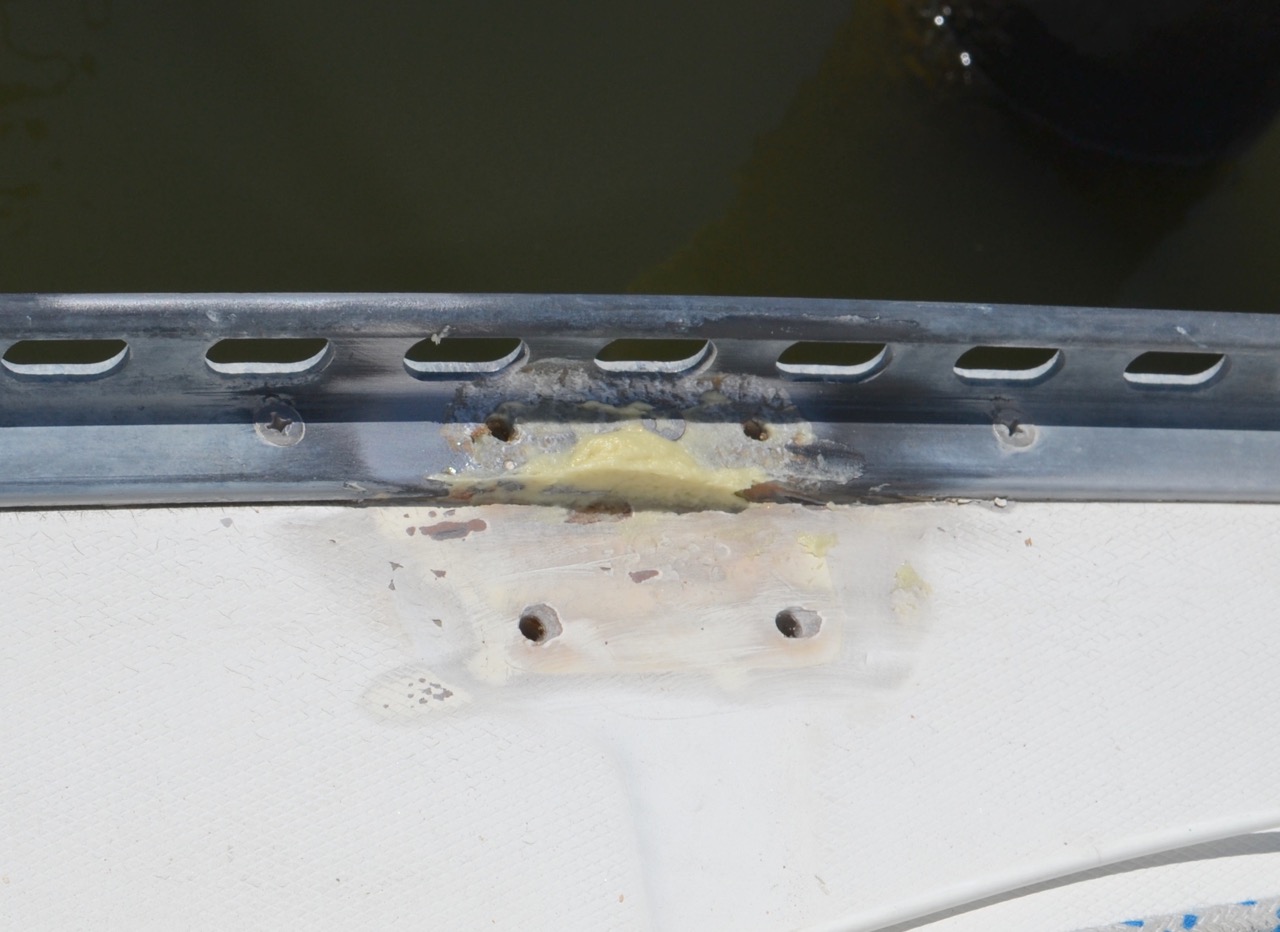
The window made access easy. I had the fasteners off and the stanchion removed in another 10 minutes. The caulking underneath was insufficient to begin with. I mean, there really wasn’t enough of the old compound down there to begin with. I scraped it off and cleaned up the surfaces with a wire wheel. There are dissimilar metals involved, so there is also quite a bit of corrosion both on the spacer plate and the toe rail.
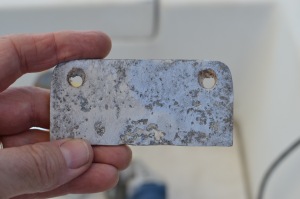 |
Lots of pitting here. Aluminum against steel, with stainless fasteners, frequently dowsed with salt water. . . |
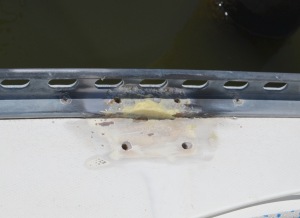 |
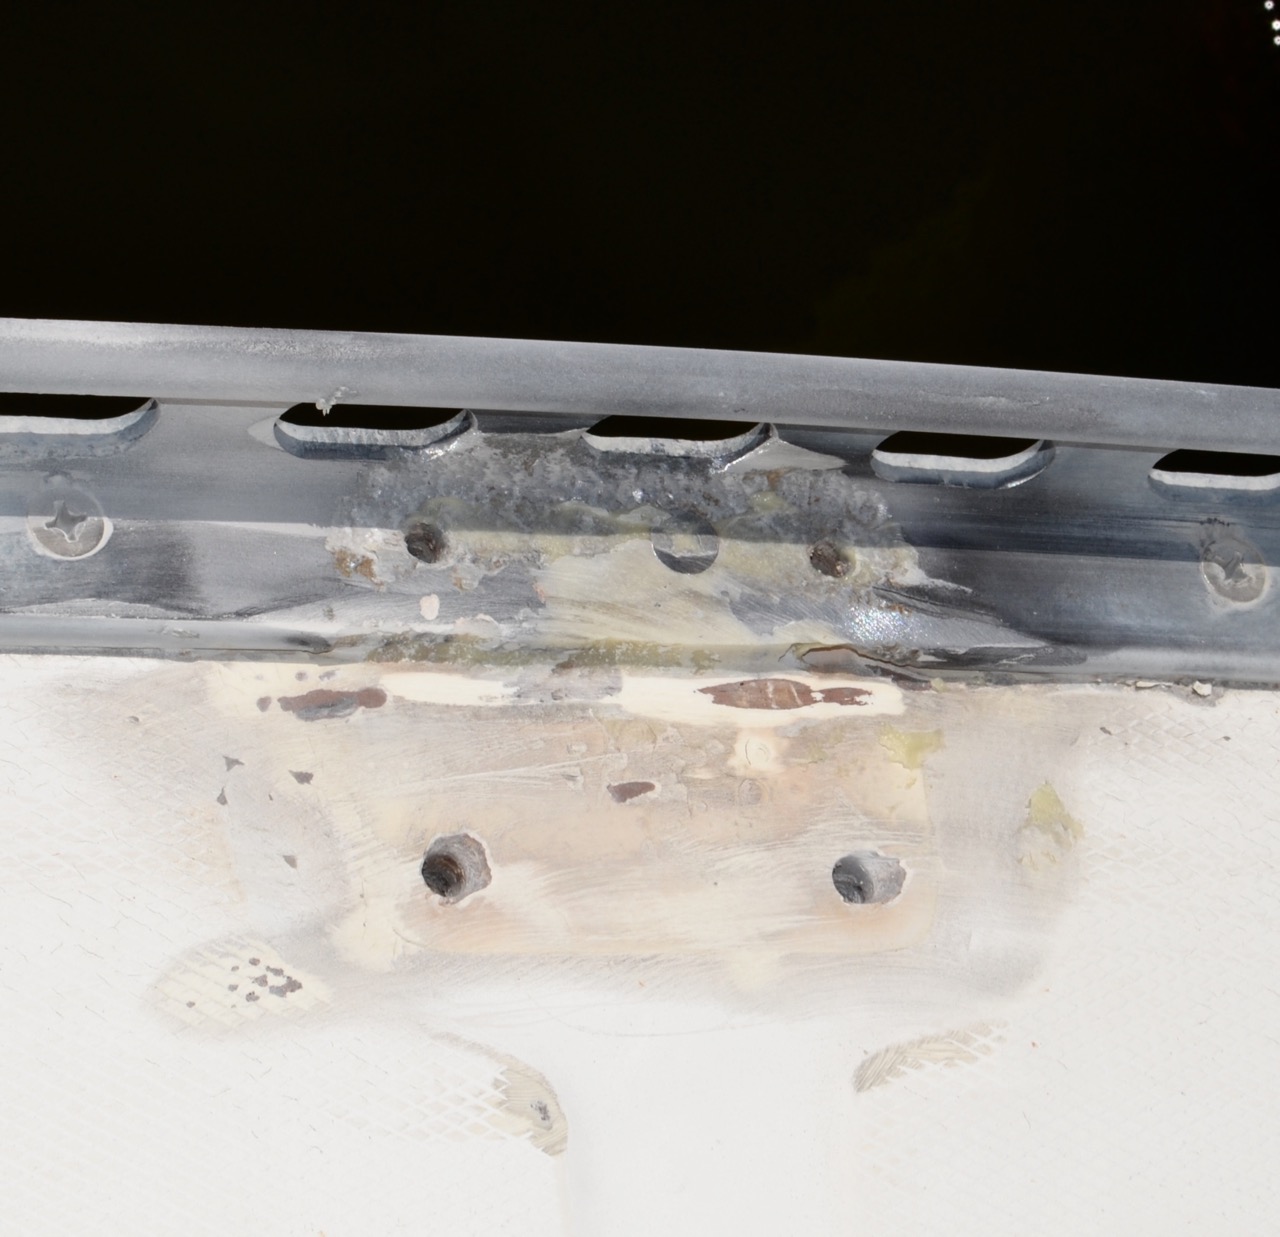
I forgot to photograph the section of the rail before filling with epoxy. It was significantly corroded away, and I had to fill it to make a flat surface for sealing. |
 |
You can better see the extent of the filled area in this photo, now that the excess epoxy has been sanded away. |
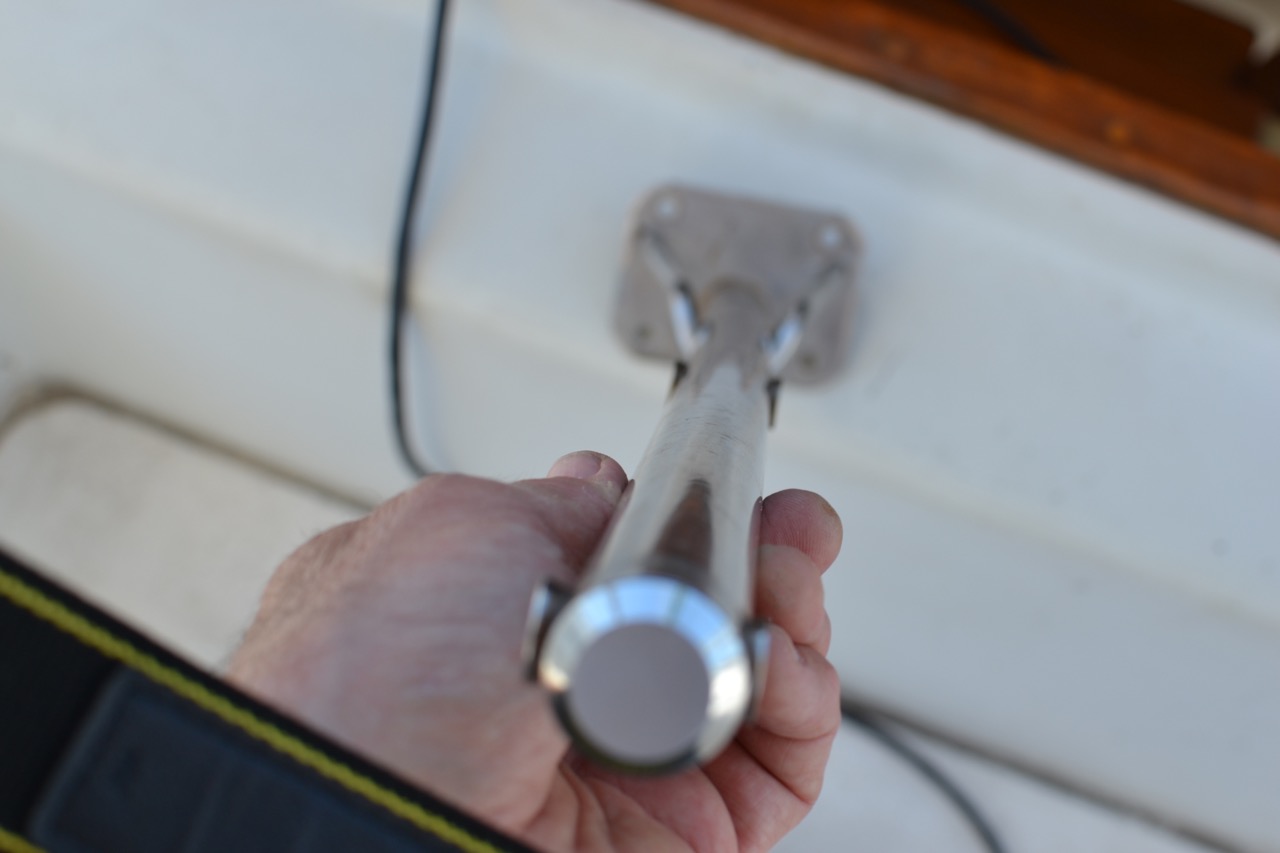
I re-bedded the stanchion with butyl, after straightening the stanchion. I was not able to get it completely straight, but it’s much better than before, and I don’t think anyone can tell it was bent now.
 |
You can see a very slight bend to the left at the bottom of the stanchion. |
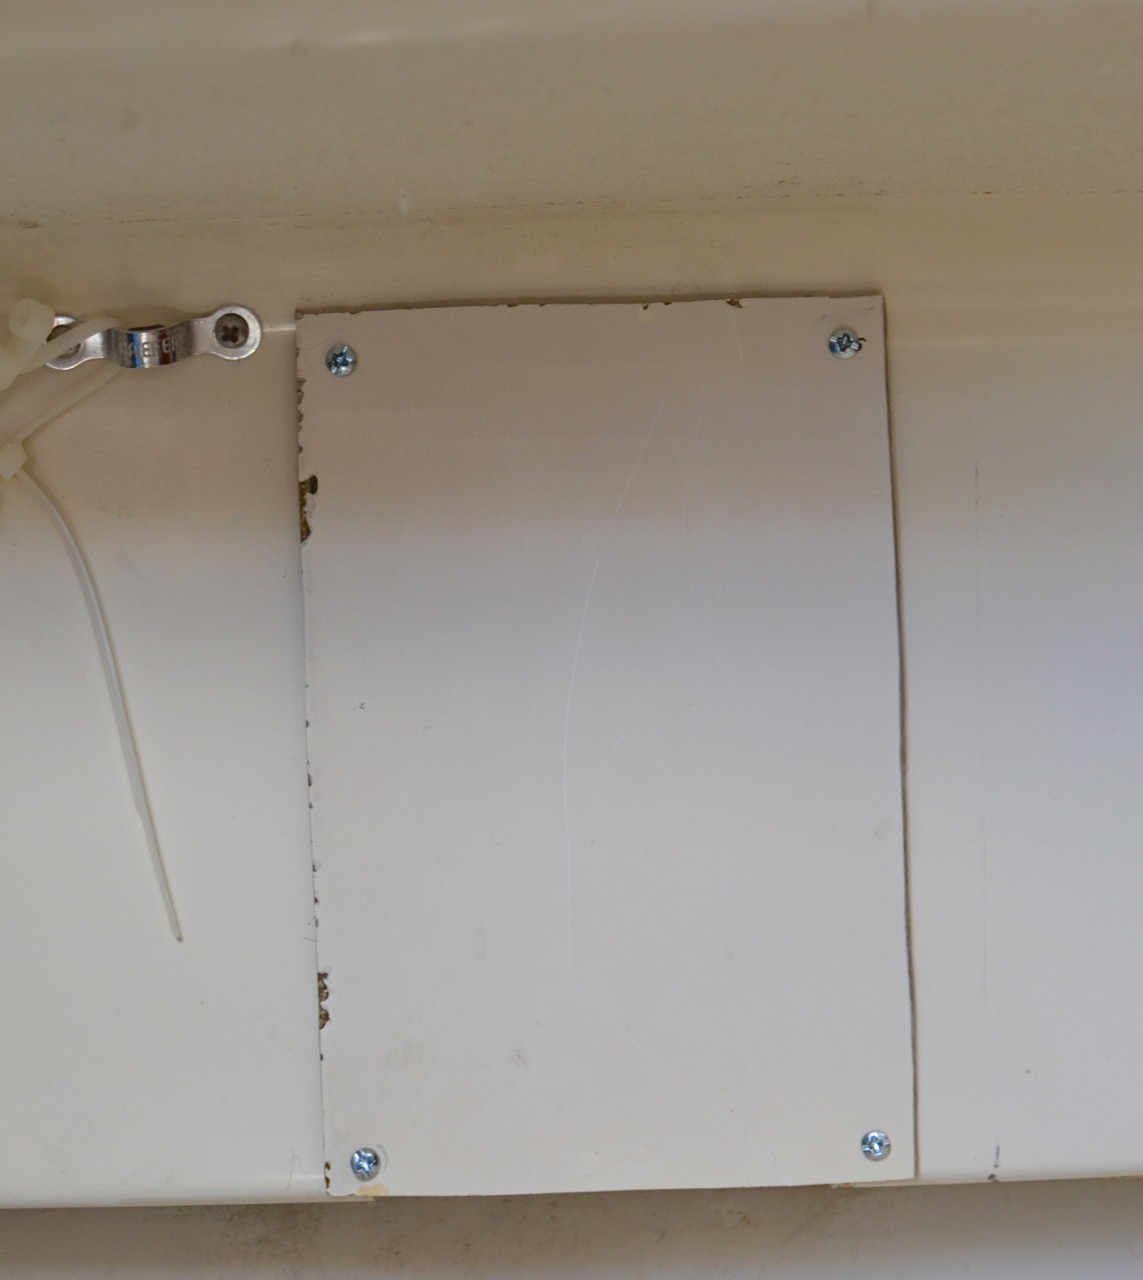
I refastened the stanchion with lots of butyl between it and the deck, bedded the screw heads and tightened it down. I got lots of squeeze-out, which is good. That’s how you know you’ve used enough bedding compound. After that, I made a cover panel for the window in the liner. I had some fiberglass left from when I enlarged my engine compartment a couple of years ago, and it was the right thickness and color.
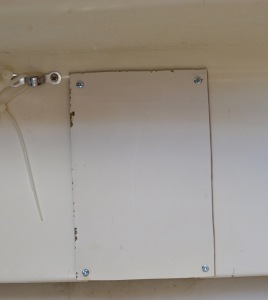 |
Not a perfect piece, but it will be pretty much out of sight anyway. |
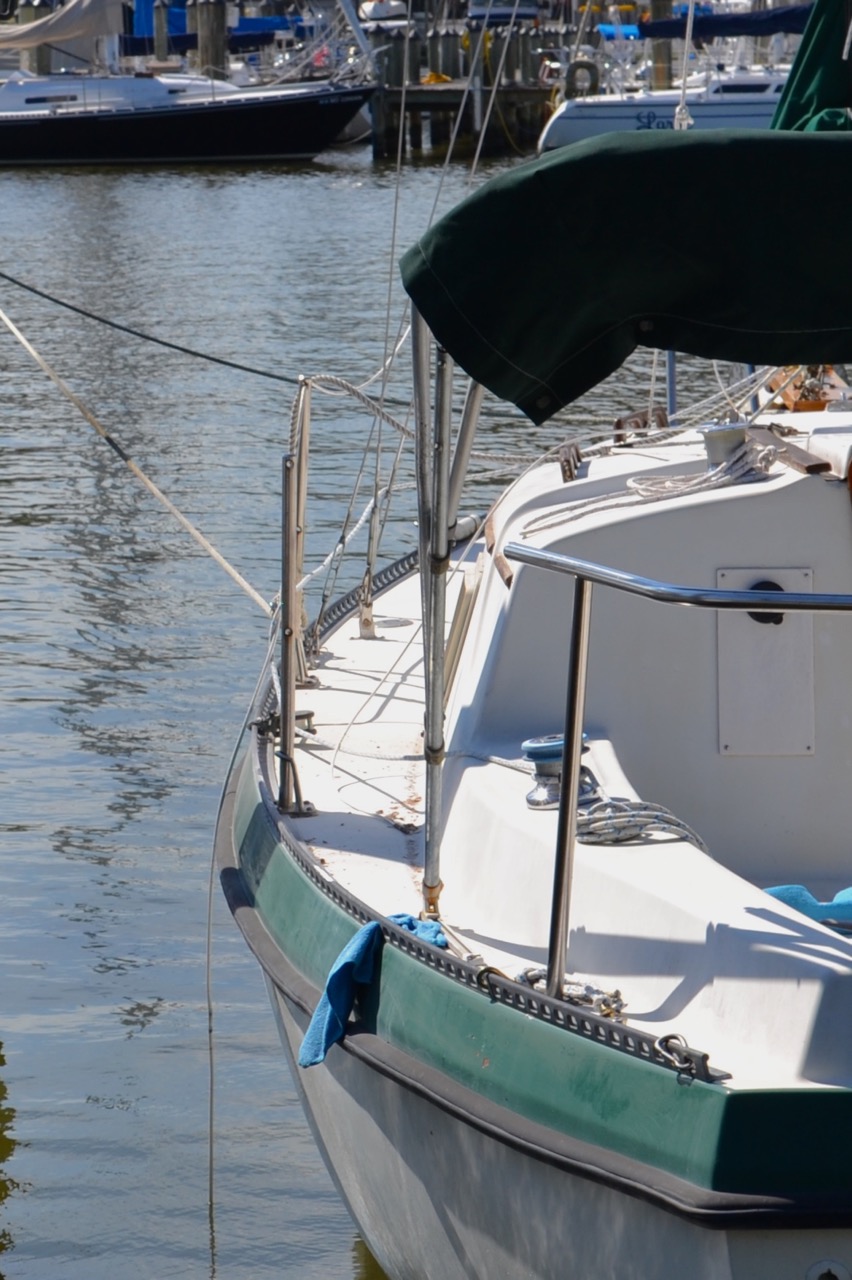
I spent another 15 minutes picking up and cleaning up, but left most of the tools out for re-bedding the next suspect stanchion in my quest to stop leaks. Here’s a photo of the remounted stanchion. It used to lean inward toward the coach-roof, but it looks straight now.
 |
It’ s the first stanchion forward of the blue cloth in the toe rail. |


No comments:
Post a Comment